The A456 series comprises four versions: E, B, S, and T. All utilize a color screen interface, a clear system of function keys, and an intuitive menu structure. Thanks to this layout, measurement, calibration, or setting changes are all performed directly on the screen without complex operations.
Depending on the version, the Elcometer A456 can use either a built-in probe or a detachable probe. The diverse probe options meet a wide range of measurement requirements, from flat surfaces to intricately shaped details. All controls are operated via the menu system; for example, to change the display language, simply access Menu, About, Language.
Overall structure of Elcometer A456
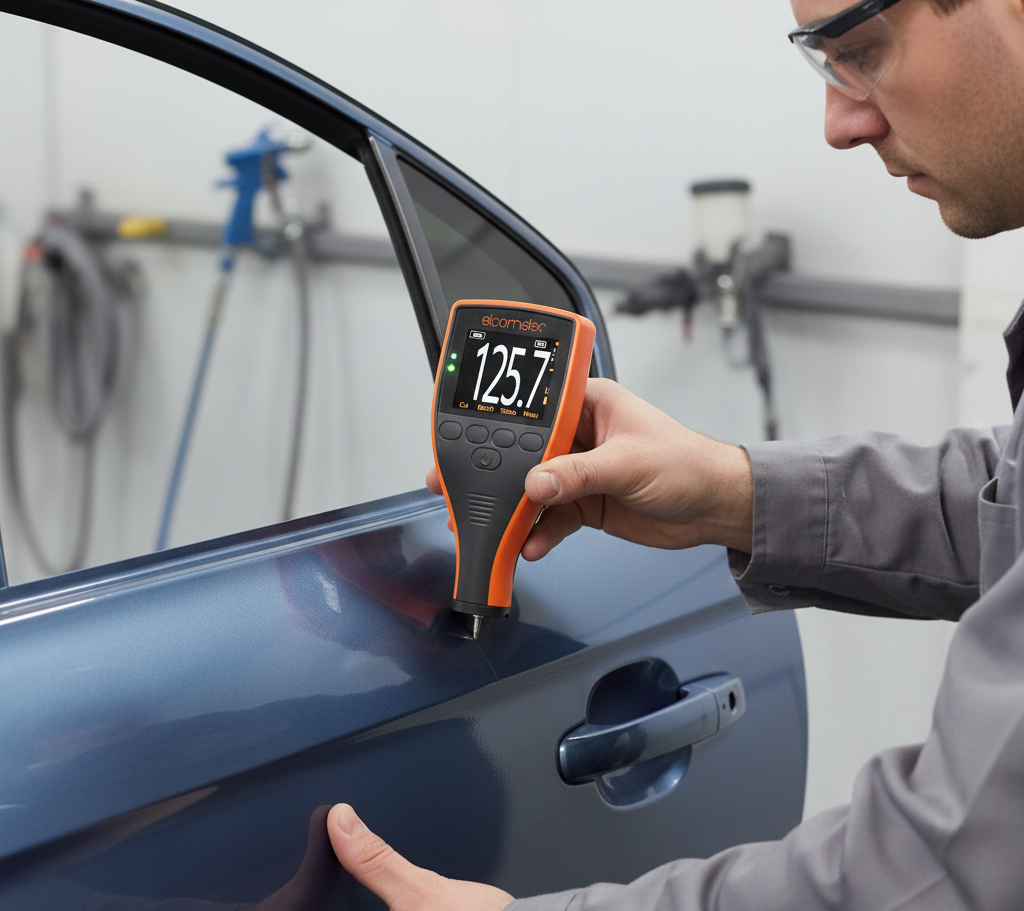
The front of the Elcometer A456 features a color screen displaying all measurement information, battery status, and function icons. Two status LEDs are located on either side, with a red light on the left and a green light on the right. Function keys are positioned directly below the screen for quick operation during use. The power button is conveniently located for easy on/off operation. Depending on the version, the probe may be integrated directly or connected separately via a probe connector. Additionally, the device body includes a data connection port, a battery cover release lever, and a wrist strap attachment hook.
Included components in the box
Each Elcometer A456 kit comes with all the necessary accessories for initial use. Inside the box are the A456 main unit, calibration plates for the integrated probe version, a certificate of origin, a wrist strap, and an instruction manual. Some versions also include a screen protector, a protective case, a USB cable, and AA batteries.
Instructions for installing and replacing the battery.
The Elcometer A456 uses two AA batteries. To install or replace the batteries, open the battery cover latch on the back by turning it counterclockwise. After removing the cover, insert the batteries according to the positive and negative terminals indicated in the battery compartment. When finished, replace the battery cover and lock it by turning the latch clockwise.
The battery level is displayed in the upper right corner of the screen. When the battery icon is orange, the battery is full. If the icon turns red and is flashing, the battery is low and does not meet the stable measurement requirements. To reduce battery consumption, you can adjust the screen brightness in the Screen settings. Bluetooth should be turned off when not in use to avoid unnecessary battery drain.
Connect the probe for the detachable probe version.
When using the detachable probe, align the latch on the probe with the latch on the main unit and gently push to secure it. Then, turn the probe handle clockwise until it feels comfortable. During operation, avoid applying excessive force if the probe is misaligned or tilted, as this may damage the connection points.
The included wrist strap helps prevent the probe from falling during operation. To attach the strap, thread the smaller end through the attachment latch, then thread the larger end through the loop and pull it tight.
To turn on the Elcometer A456, press and hold the power button for about half a second until the screen lights up. To turn it off, continue holding the power button until the screen turns off completely. The device is pre-set to automatically shut off after five minutes of inactivity. If you need to change this, you can adjust it in the Auto off section of the settings menu.
For full details of the Elcometer A456 series, please visit: Coating thickness gauge
Configure display language, units of measurement, and sound alerts.
Upon initial startup, the device displays English and prompts you to select a language. This selection is made using the up and down arrow keys as instructed on the screen. If the device is displaying an unfamiliar language, you can turn it off, then hold down the left function key and press the power button to return to the initial language selection interface. Alternatively, you can change the language directly in the Language section of the settings menu.
Supports displaying results in various units such as microns, millimeters, mils, or inches. The unit of measurement can be changed via the "Units" option in the settings menu. Each measurement is accompanied by an audible alert to confirm the result. This volume can be adjusted or completely muted in the "Volume" setting.
Perform paint thickness measurements.
When taking measurements, firmly hold the device body or the metal ring of the probe. The probe should be positioned perpendicular to the surface being measured and gently in contact with it. After obtaining a result, lift the probe and move it to another position to continue the next measurement.
During the process, hold the probe by the metal ring and ensure even contact with the surface to increase the stability of the result. Avoid dragging the probe across the surface, tapping forcefully, or placing the probe at an angle, as these actions can easily lead to inaccurate measurements.
Calibration is performed before measurement, and the results are displayed on the screen.
Calibration is the process of establishing a correlation between the probe and known standard thickness values to ensure that the measurement results match actual surface conditions. The calibration method is selected depending on the surface characteristics and measurement requirements.
This process is performed using the Cal button. Users can select the calibration method in the Cal method section and follow the on-screen instructions. When required, the probe is placed on a reference plate or unpainted metal surface. Reference plates can be stacked to create greater thicknesses.
With FNF probes, calibration needs to be performed for both F and NF modes. For Ultra or Scan probes operating in scan mode, Smooth or two-point calibration will yield more stable results.
The Elcometer A456's color screen displays measured values and statistical parameters using white characters. Menu items and icons are displayed in orange. When the measured value exceeds the set limits, the screen displays a red warning for versions that support limits. A three-dash symbol appears when the result is outside the probe's operating range.
If the Cal button is flashing, this indicates that calibration is needed before continuing the measurement.