Tape measure
Accurate length measurement is still one of the most common requirements in maintenance, installation, fabrication, warehousing, and general technical work. A reliable tape measure remains the fastest tool for checking dimensions on site, marking cut points, confirming clearances, or comparing finished parts against drawings before moving to more precise inspection tools.
On this page, buyers can explore tape measures for different working ranges and use cases, from compact daily-use models to longer steel tapes for field measurement. The category also includes some specialized measuring formats, helping teams choose practical tools for routine work without overcomplicating the measuring process.
Where tape measures are used in technical and industrial work
In many workshops and job sites, a tape measure is the first tool used before machining, assembly, or installation begins. It is suitable for checking cabinet dimensions, machine spacing, cable tray runs, pipe routing distances, packaging sizes, and stock material lengths. Because it is portable and quick to deploy, it supports both inspection and layout work.
For applications that need faster dimensional checks than bench instruments can provide, tape measures offer a practical balance between speed and usability. When tolerances become tighter or when small diameters and thicknesses must be verified, users often complement them with tools such as callipers or micrometers, depending on the level of precision required.
Common tape measure formats in this category
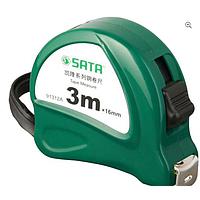
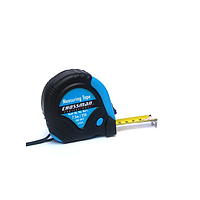
This category covers several familiar formats rather than a single fixed design. Compact retractable models are widely used for indoor work, maintenance tasks, and general workshop measurement. These are typically chosen when users need a tool that can be carried easily and read quickly during repetitive jobs.
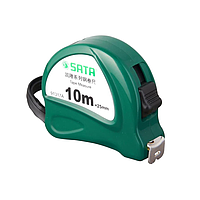
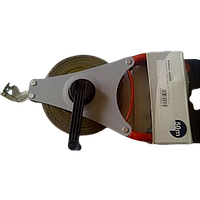
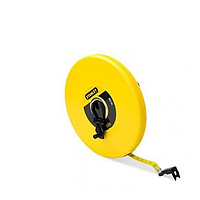
Longer steel tapes are more suitable when measuring room spans, site layouts, storage areas, or installation distances beyond the reach of standard pocket models. Open-frame styles are often preferred for longer ranges because they are easier to wind and handle over extended distances. There are also more specialized options, such as circumference measuring tapes and hybrid designs that combine a conventional tape with laser distance support.
How to choose the right tape measure
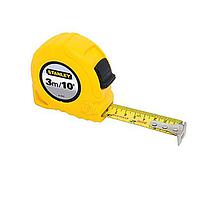
The first selection factor is measuring range. A 5 m tape is often enough for bench work, furniture installation, electrical mounting, and general facility tasks. An 8 m or 10 m model gives more flexibility for larger equipment, doors, frames, and structural elements, while 15 m to 50 m tapes are more appropriate for field measurement and layout work.
The second factor is blade width and handling feel. A wider blade can be easier to read and may feel more stable during solo measurement. Unit format also matters in mixed-standard environments, especially when both metric and inch readings are used. If teams regularly measure curves or body-related dimensions rather than straight edges, a dedicated model such as the KERN MSW 200S05 may be more appropriate than a standard construction-style tape.
For users comparing tools across brands, it can also be useful to browse manufacturer ranges from STANLEY or YATO when a project requires a specific form factor, length, or reading style.
Representative products for different tasks
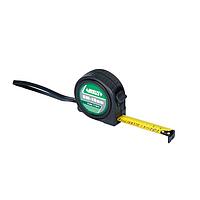
Several products in this category illustrate how tape measures are matched to different working conditions. For routine shop or installation use, the STANLEY STHT37191 Tape Measure (5mx19mm) and Proskit DK-2041 Measuring Tape (5M/16FT) fit the everyday need for compact size and straightforward reading. These are practical choices when dimensions are checked frequently throughout the day.
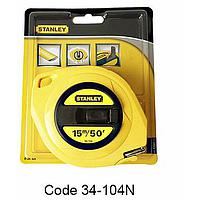
For longer reach, options such as the STANLEY STHT36195 Steel ruler (8m), STANLEY STHT33463-8 Steel ruler 10m, and STANLEY 34-104N Tape Measure (15m) support larger measurement spans without moving reference points repeatedly. When site measurement extends much farther, the YATO YT-71552 Measuring Tape 50Mx13mm Steel Blade Open Type represents the kind of long-range solution often used in outdoor or layout-related work.
There are also specialized products with a different role in the measuring workflow. The YATO YT-73122 Measurement tape combines a 5 m tape with a laser function for distance support, while the KERN MSW 200S05 Convenient Tape for Measuring Circumference is designed for circumference measurement rather than general straight-line layout.
Reading tape markings accurately and reducing measurement errors
Many measurement mistakes come from technique rather than from the tool itself. The end hook should sit firmly against the starting edge, and the tape should be pulled straight along the intended measuring line. On longer spans, blade sag or diagonal positioning can introduce avoidable error.
It is also important to read the scale with the eye positioned as close to perpendicular as possible to the tape surface. Most models use metric and inch scales or a clearly segmented metric layout, and misreading small divisions usually happens when the tape is viewed from an angle or when lighting is poor. Clear markings, stable blade extension, and consistent user handling all contribute to more repeatable results.
For technical inspection where movement, runout, or displacement must be monitored rather than overall length, tools such as dial indicators are more suitable. That distinction helps buyers choose the right instrument for the actual measurement objective.
What affects durability and day-to-day usability
In practical use, durability depends on more than just blade material. Housing strength, resistance to wear at the printed scale, hook stability, and the smoothness of the retraction mechanism all affect working life. In industrial environments, repeated drops, dust exposure, and fast blade return can shorten the service life of any tape if the tool is not handled properly.
Models in this category include examples with steel blades, polymer-coated surfaces, and ABS plastic housings, depending on the design. Features like readable scale printing and a comfortable grip may seem simple, but they make a noticeable difference during repetitive measuring tasks, especially for teams using the tool all day on maintenance or installation jobs.
Simple handling practices for more consistent results
To maintain measurement consistency, retract the blade in a controlled way instead of allowing it to snap back at full speed. This helps reduce wear on the hook, blade edge, and internal spring mechanism. Keeping the tape clean and dry also helps preserve legibility over time, especially where metal dust or moisture is present.
When the same dimension must be checked repeatedly, it is often more efficient to record the value once and confirm it against the workpiece, rather than measuring again and again under changing hand positions. This small habit reduces variation and supports more reliable layout, cutting, and installation results.
Choosing with the application in mind
The right tape measure depends less on brand alone and more on the type of job, measuring distance, reading preference, and working environment. A compact 5 m model is usually enough for daily workshop use, while a longer steel tape makes more sense for building services, site layout, and large equipment placement. Specialized tapes should be considered when straight-line measurement is not the main requirement.
This category is intended to help buyers compare practical options across common industrial needs. By matching tape length, format, and usability to the actual task, it becomes easier to select a tool that supports faster work and more dependable measurements in the field or on the shop floor.
Get exclusive volume discounts, bulk pricing updates, and new product alerts delivered directly to your inbox.
By subscribing, you agree to our Terms of Service and Privacy Policy.
Direct access to our certified experts